
Build cheapest kubernetes i7 cluster
How I've build 4 nodes kubernetes i7 16GB cluster
I always wanted to build my own k8s cluster, but couldn't see any reliable "budget" 3-4 nodes option to go for - yes there are a lot of attempts of building kubernetes which are:
raspberry pi which are not x86 compatible so you wont run a lot of docker images there
some tv hdmi sticks - better than raspberry but cpus are quite weak.
So one day my laptops display has broken.
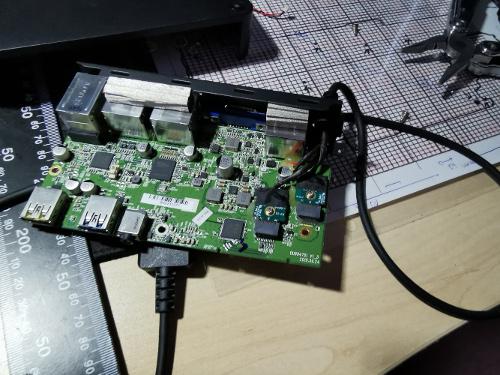
It was i7 with 16gb RAM it I have identified malfunction was was the port to lcd display on the motherboard as the hdmi output worked fine.
I have replaced the motherboard and doing so I had the old spare but kida headless without display well hdmi output still worked).
Also when buying replacement motherboard I have discovered there are sold for 100 quid (coming from some after leasing refurbished laptops) so probably the cheapes k8s cluster we can have on i7's and 16GB RAM per node.
The parts:
Note: I've used 00JT811 because I had spare one you can use any i7/i5 laptops motherboard I have just found that actually on ebay there are i5 00JT371 i5-5200U for 50quid !! and it's the same number of cores/threads just at the lower frequency 2.60 GHz vs 2.20GHz base freq.
3 x £120 Lenovo Yoga X1 Carbon 00JT811 Core i7-6600U 2.6GHz Laptop Motherboard [from ebay] || or 4x £50 i5 00JT371 i5-5200U
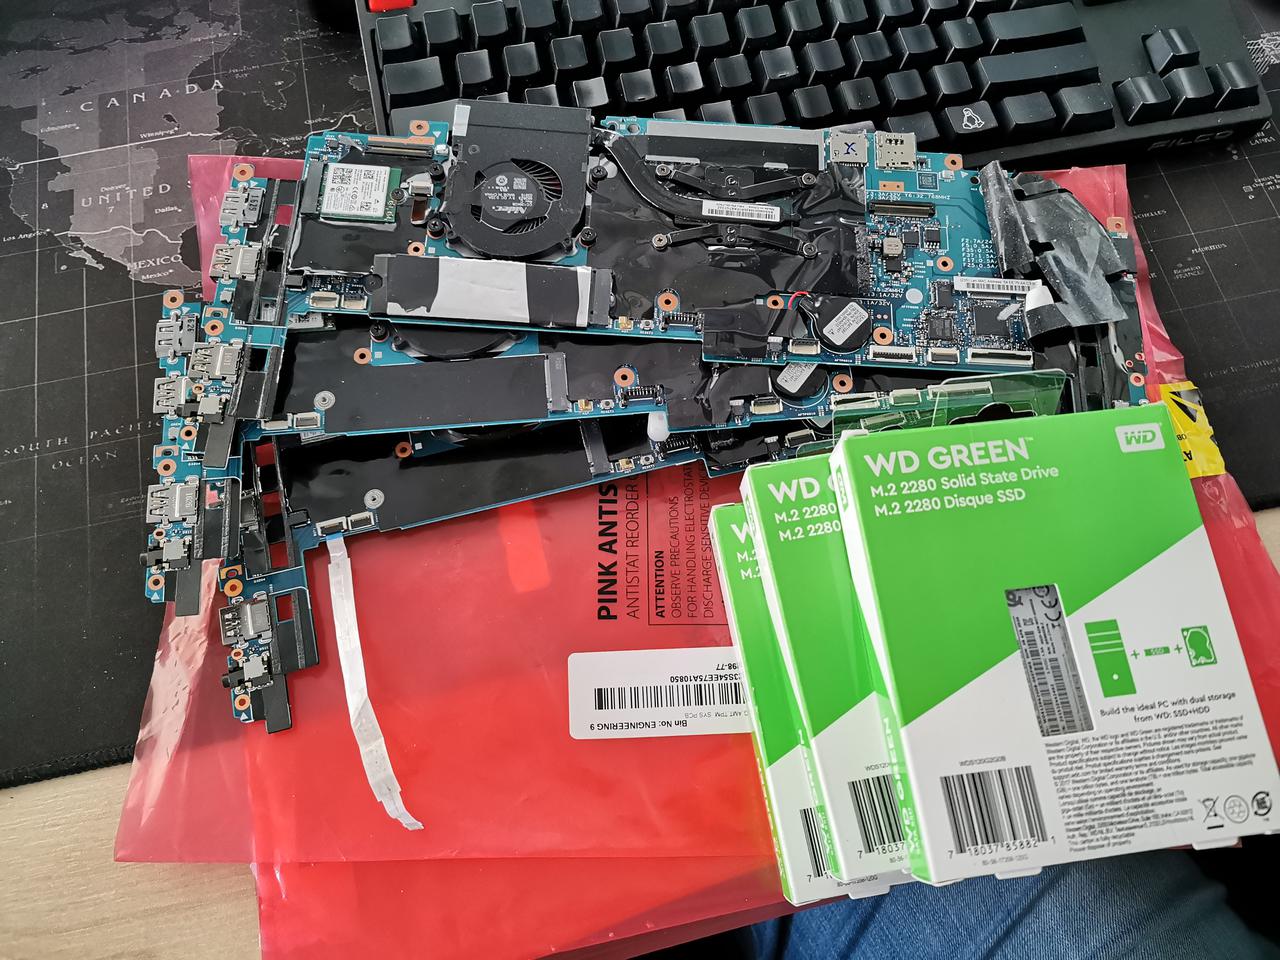
4 x £12.93 Sandisk 120GB SSD [from Amazon warehouse deals] - optional could do it network bootable!!!
4 x lenovo laptop chargin adapters (had old ones so didnt have top buy)
3 x 1GB Ethernet over oneLink+ interface (7each)
1 x 1GB Ethernet over OneLink+ dock station (I had old one)
1 x used battery for master node (to secure etcd even better from power failure) £10
1 x Server Case to pack it up 2U Short ATX Chassis - Low Profile PCI Card Support - 390mm Depth £47
Overall for mine with i7: £489
Alternative with i5: £329
I had old intell skull i7 as my previous lab server so I have sold it for £400 so in the end by just adding 89 quid and week of work during evenings I had 4 nodes powerfull kubernetes cluster.
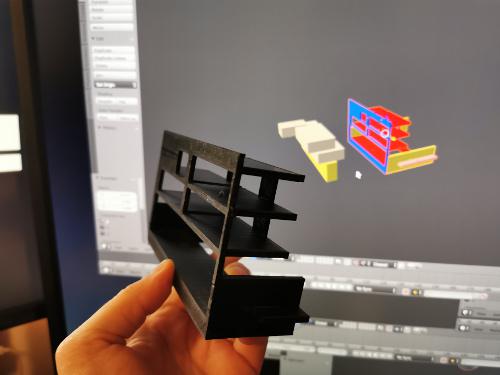
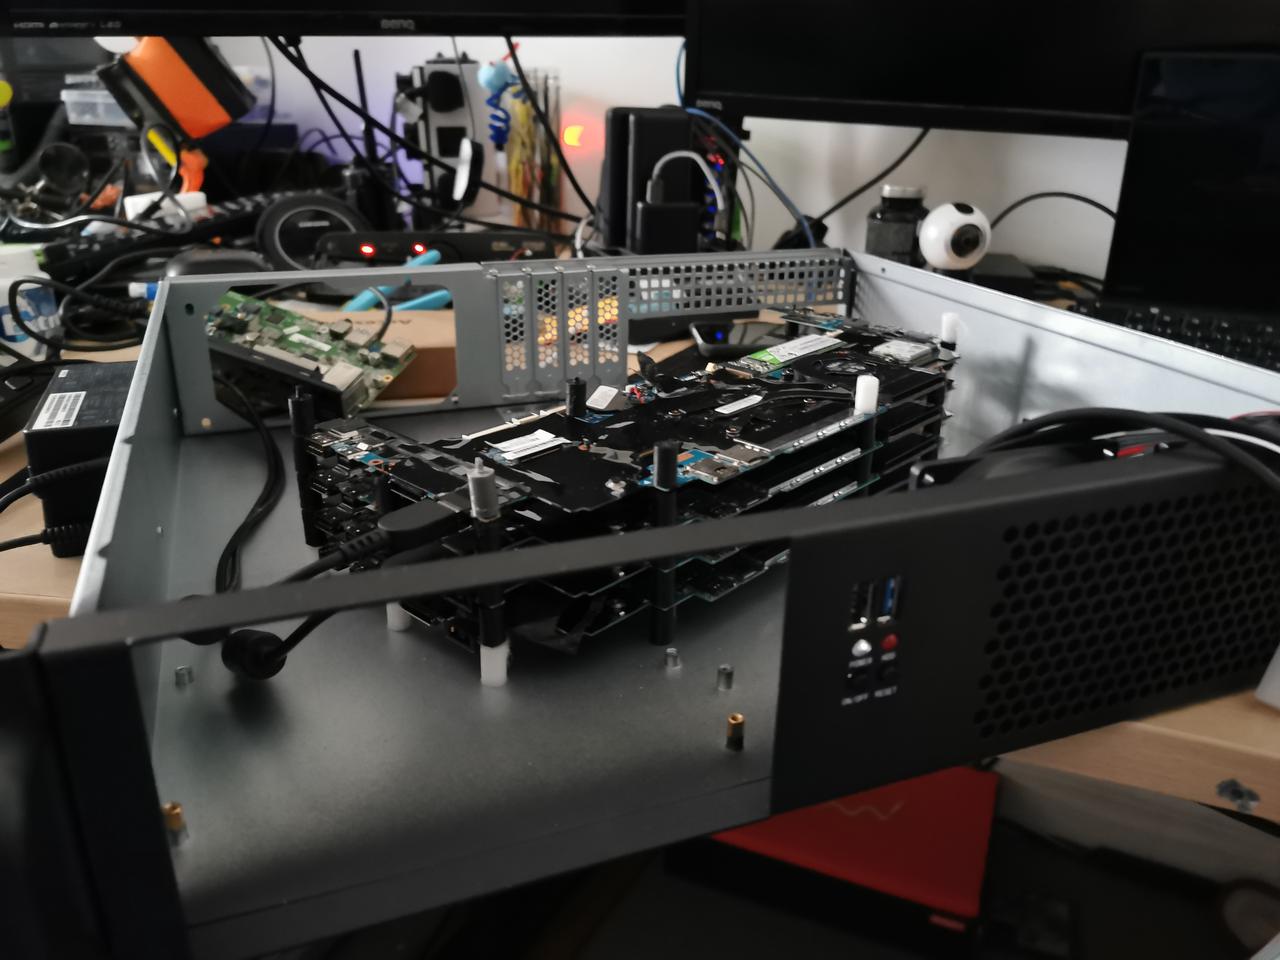
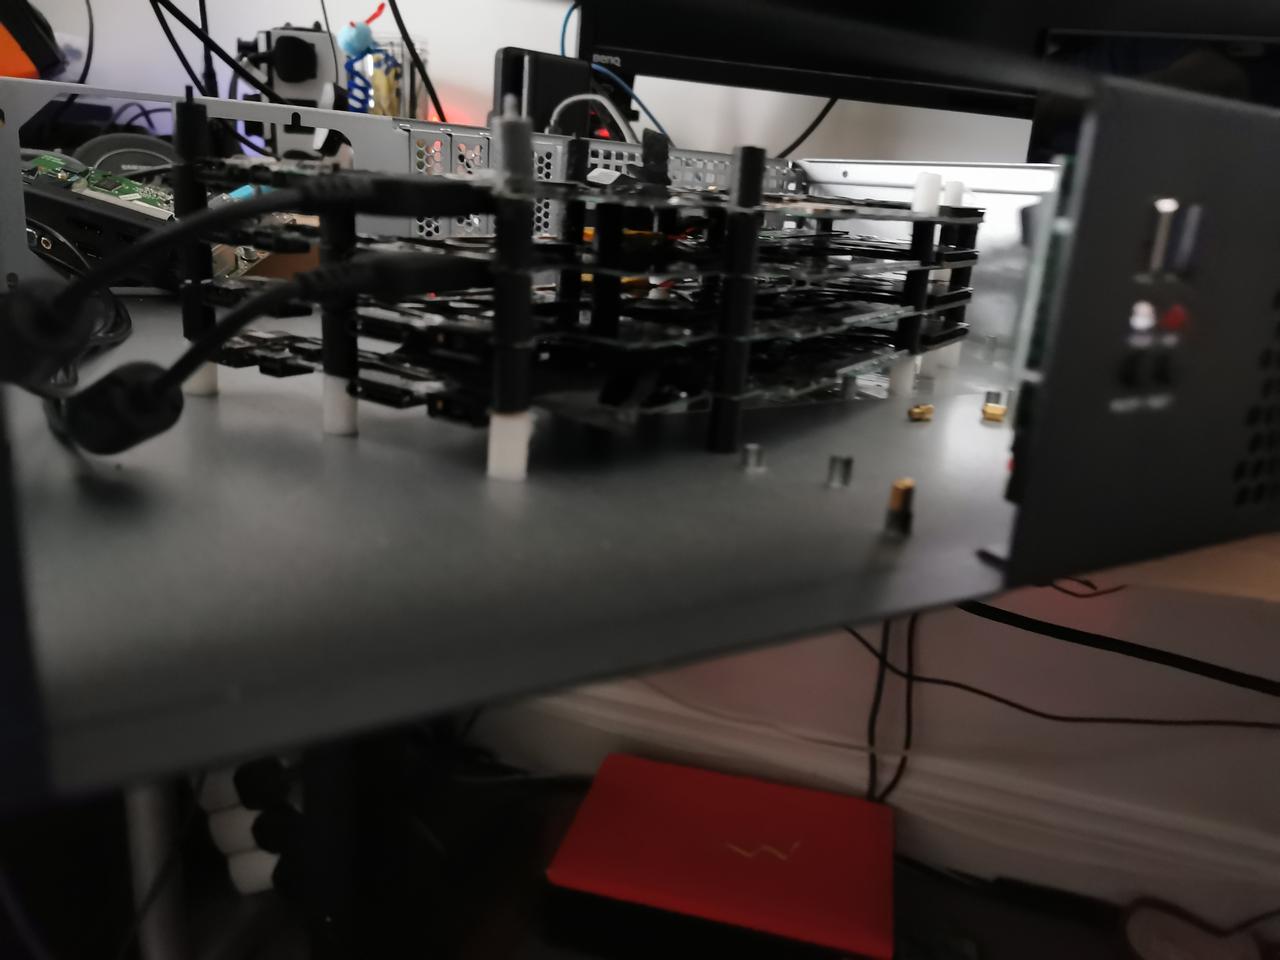
Problem 1 - How to stack it on each other?
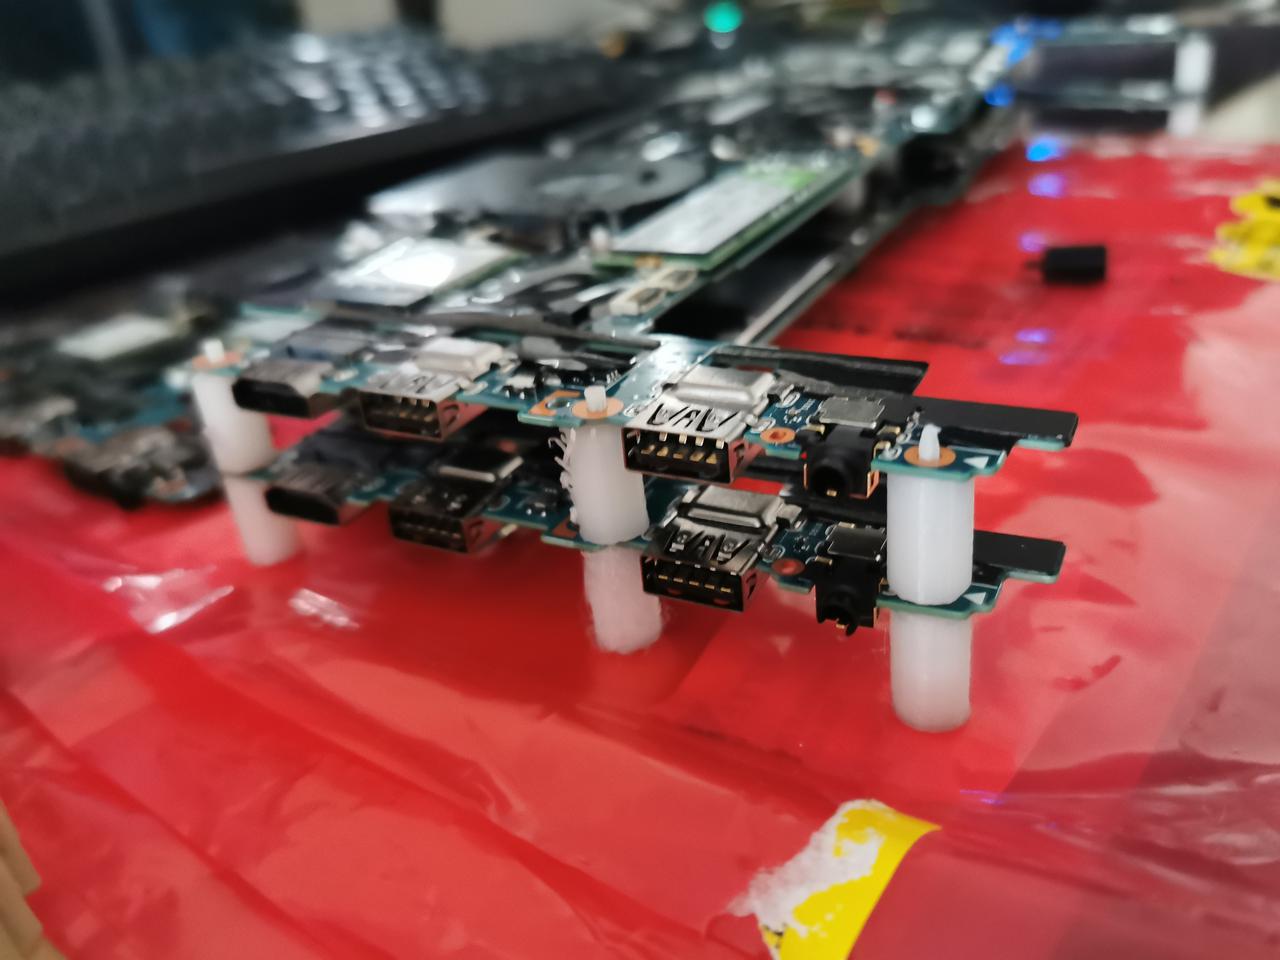
I had to find some way how to put the motherboards on each other safetly - fortunately I had ender3 3dprinter and bit of knowledge of 3d prototyping in blender so I have just designed simple pins on which I sould stack the motherboards.
Problem 2 - Powering it on
Solution 1 - BIOS Restore on AC Power loss - just pluggin in to power adapter should power on my motherboards
Solution 2 - Add power button - unfortunatelly its almost impossibile to buy power button separately for this motherboard they are available on aliexpress for 17 quid which is ridiculous.
I have found 1 button for 5 on ebay and have reverse engineered it.
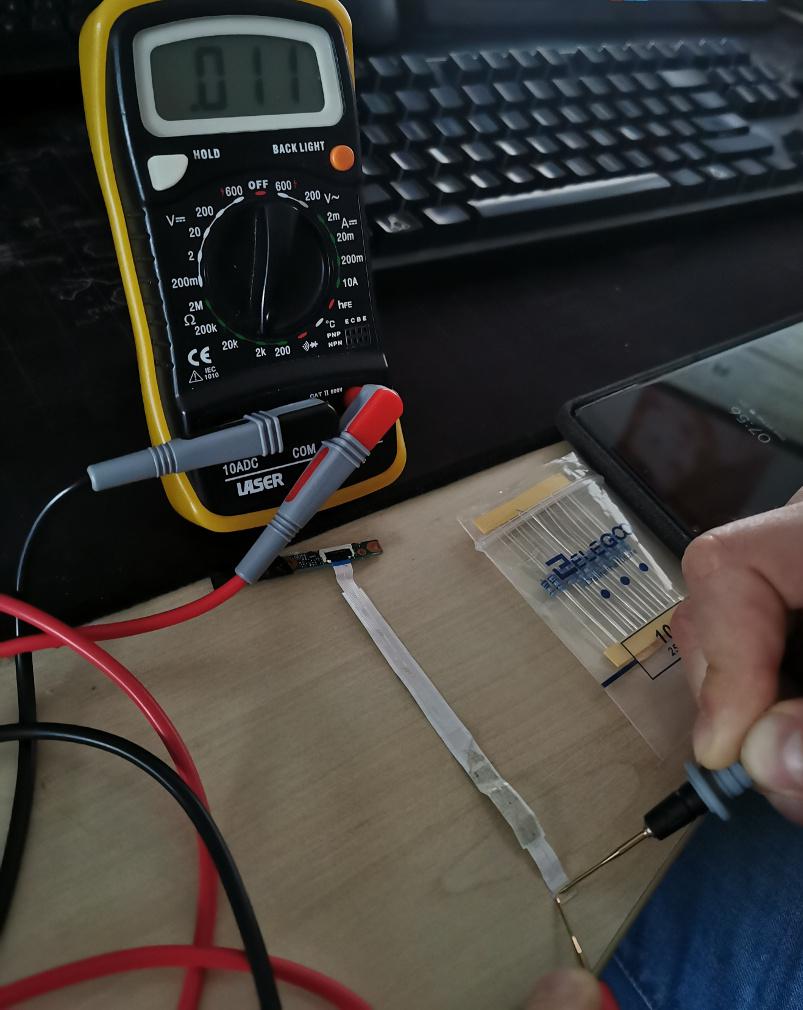
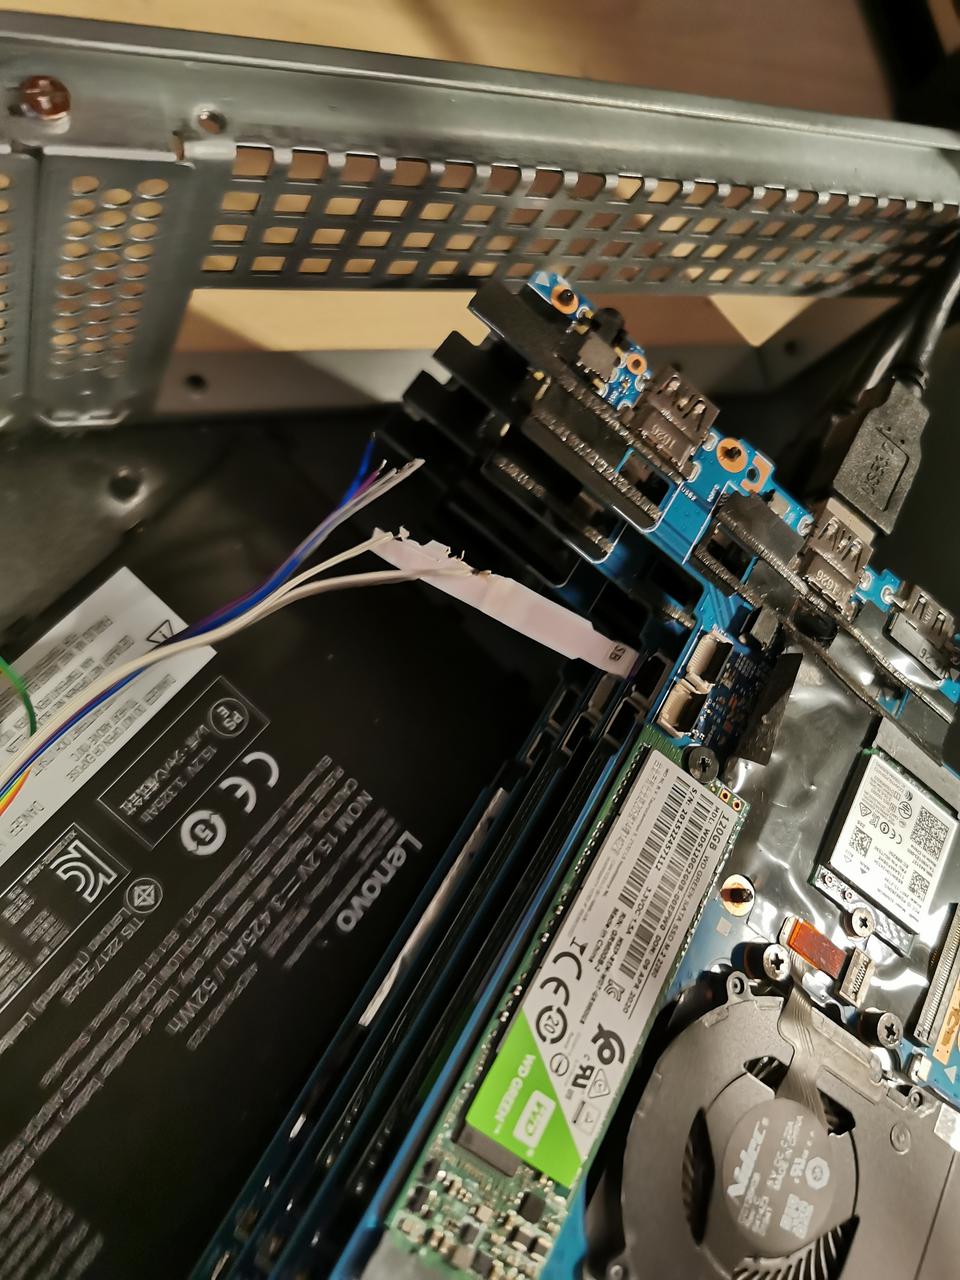
So Laptop power on switch works bit different than I though its not working like in PC ATX switch just short circuiting 2 cables - I had to check with multimeter whats happening on which pins of the port of power switch. It turned out its just adding 10Ohm resitance on button press. I have just created my own buttons and added the resistors to each of them.
Mind the power adapters are outside of the whole server case and even server cabinet - they warm up and generate extra heat so better to keep them out- the fans in cabinet will be more quiet then..
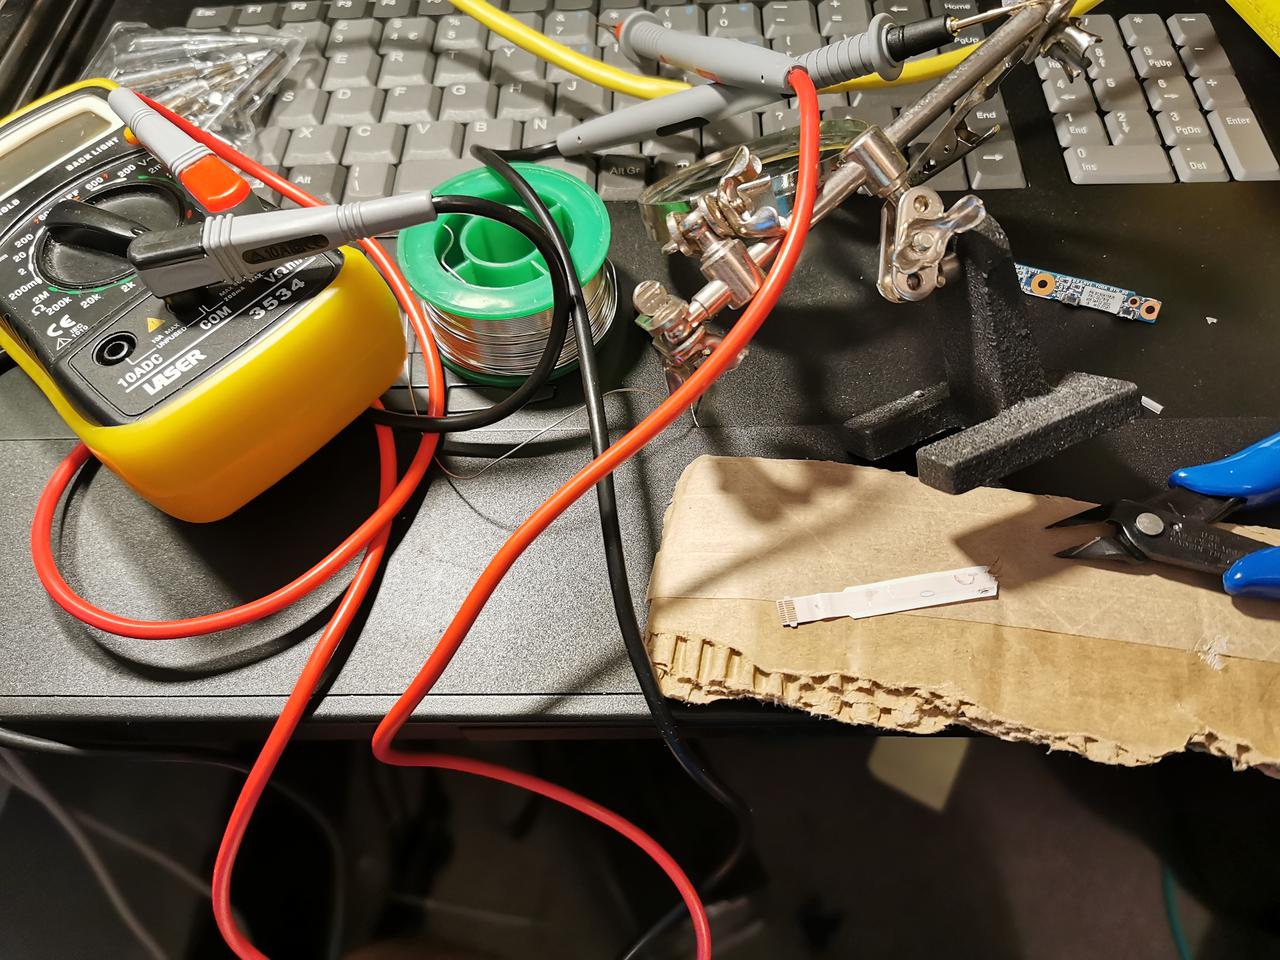
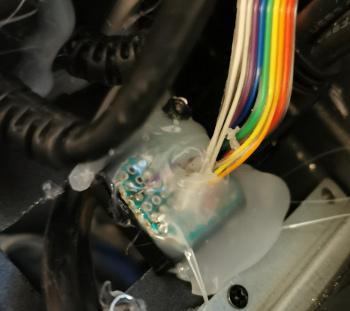
I forgot to make pic but I below the buttons there are 10 Ohm resistors soldered to one leg.

So it's pin 1 and 3 (on the ribbon positioned like below) which needs to be applied with 10Ohm resistor.
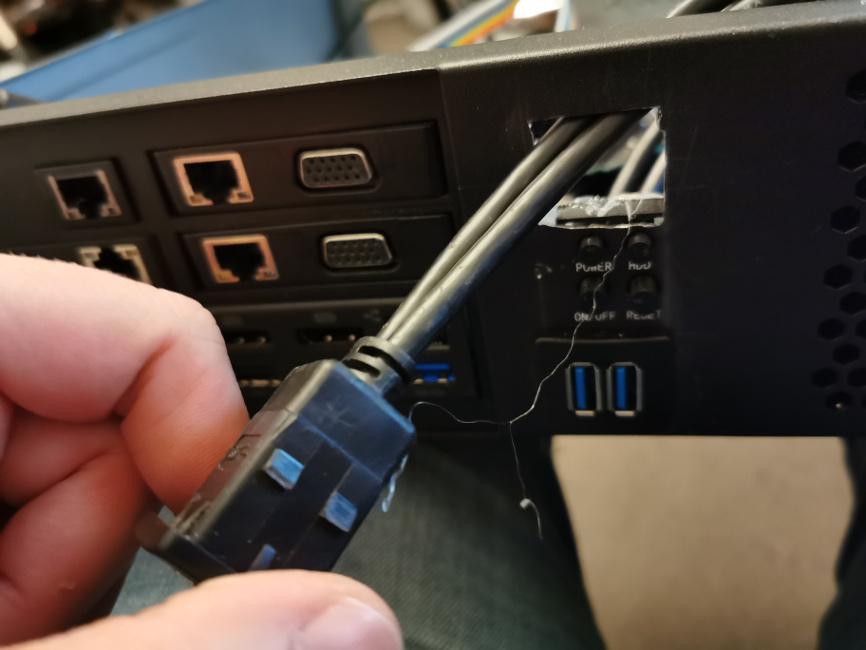
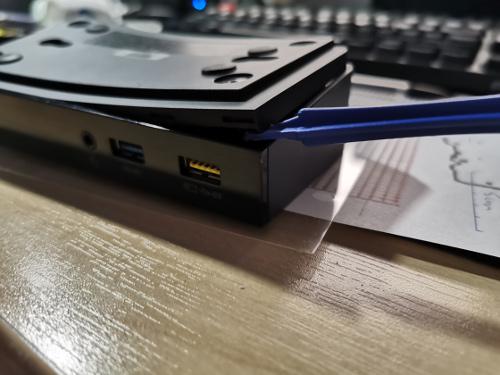
I had to do my own buttons too as case came with 2 buttons and 2 led diodes I just took off whole pcb and made my own with just buttons and printed out the plastic long buttons. Also added external usb3 extensions
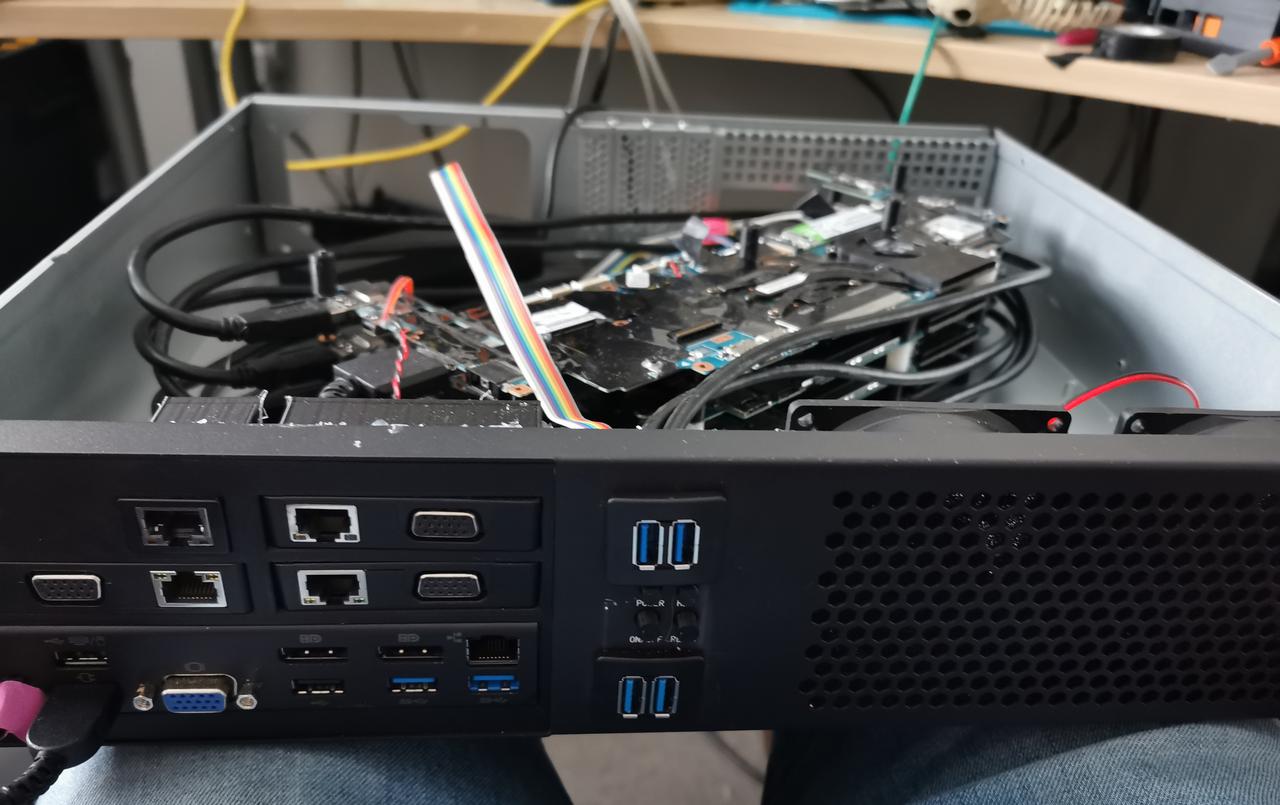
Problem 3 Ethernet
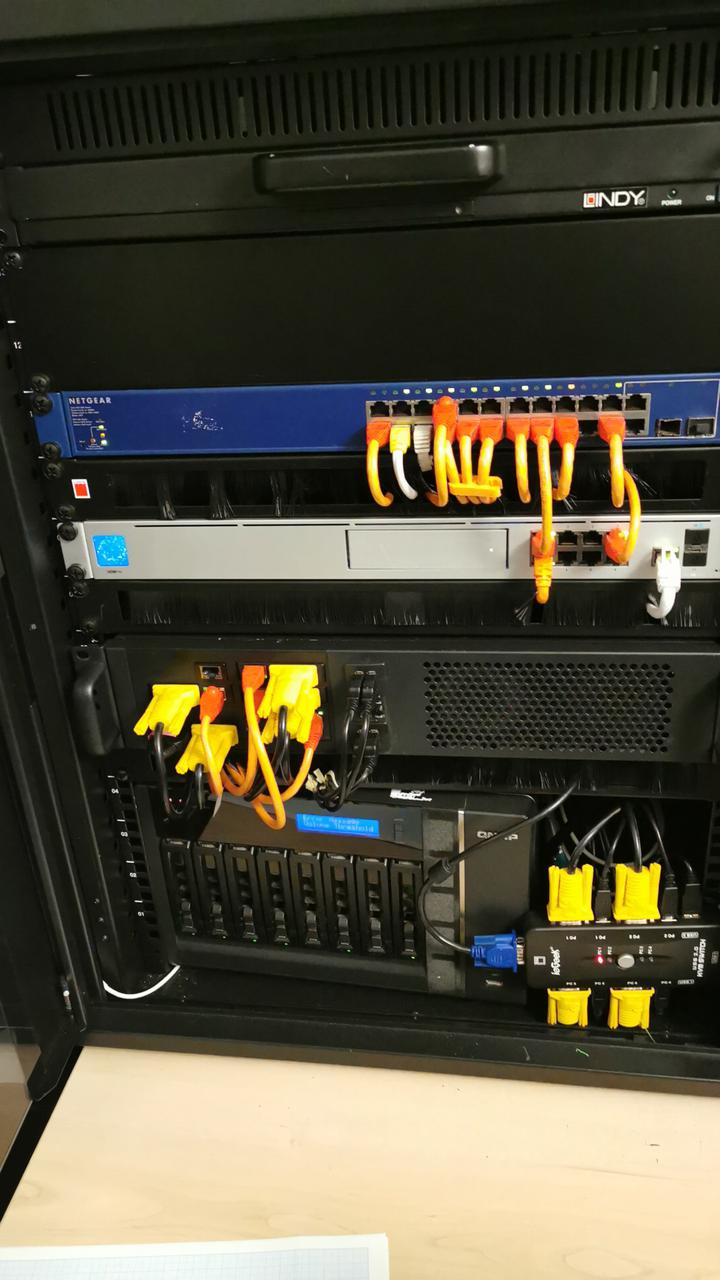
I wanted it to look nice so I have designed some panel to put into server case and connect all the ethernet adapters + docking station together.
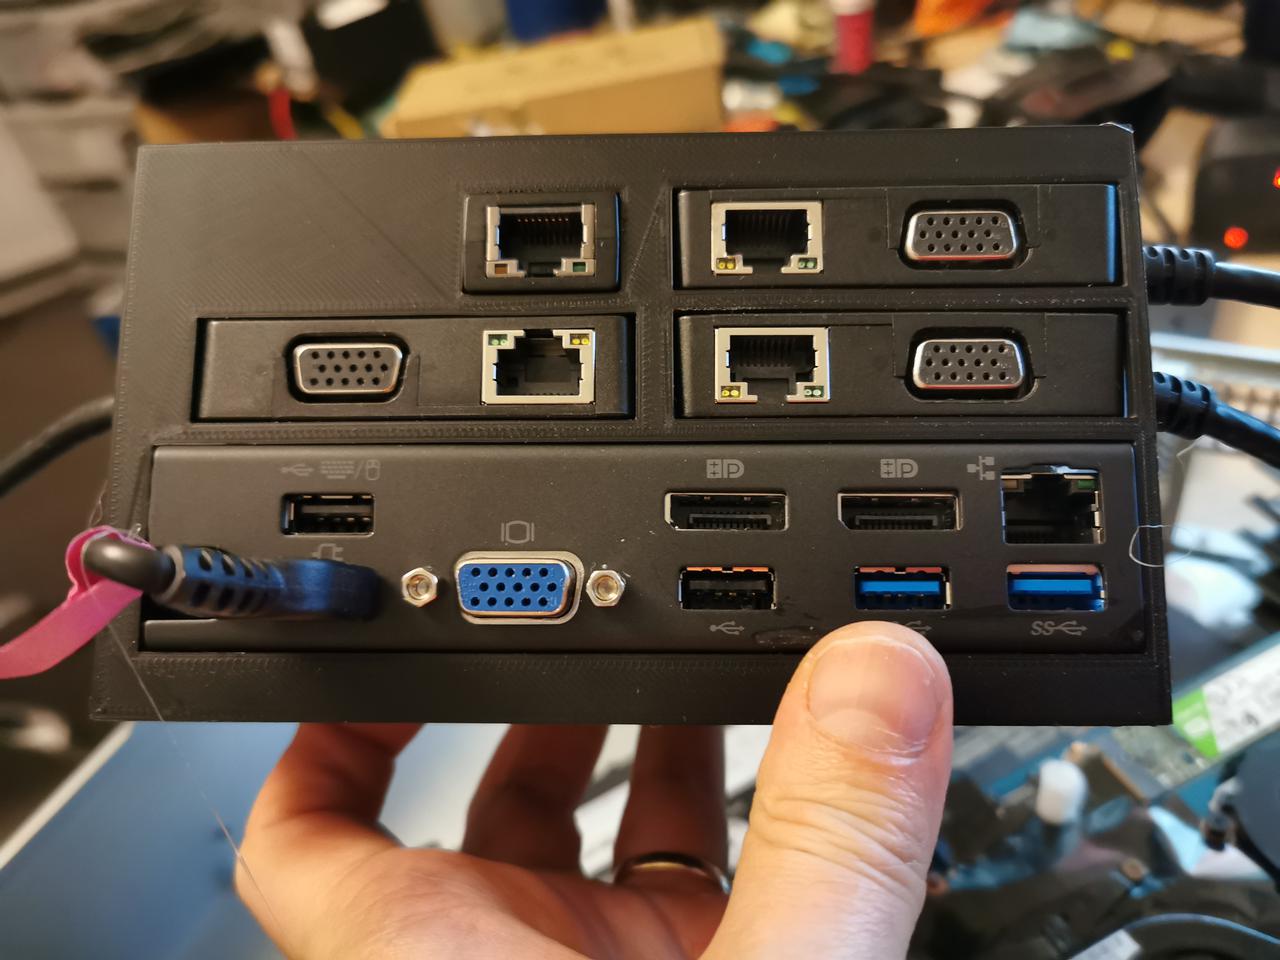
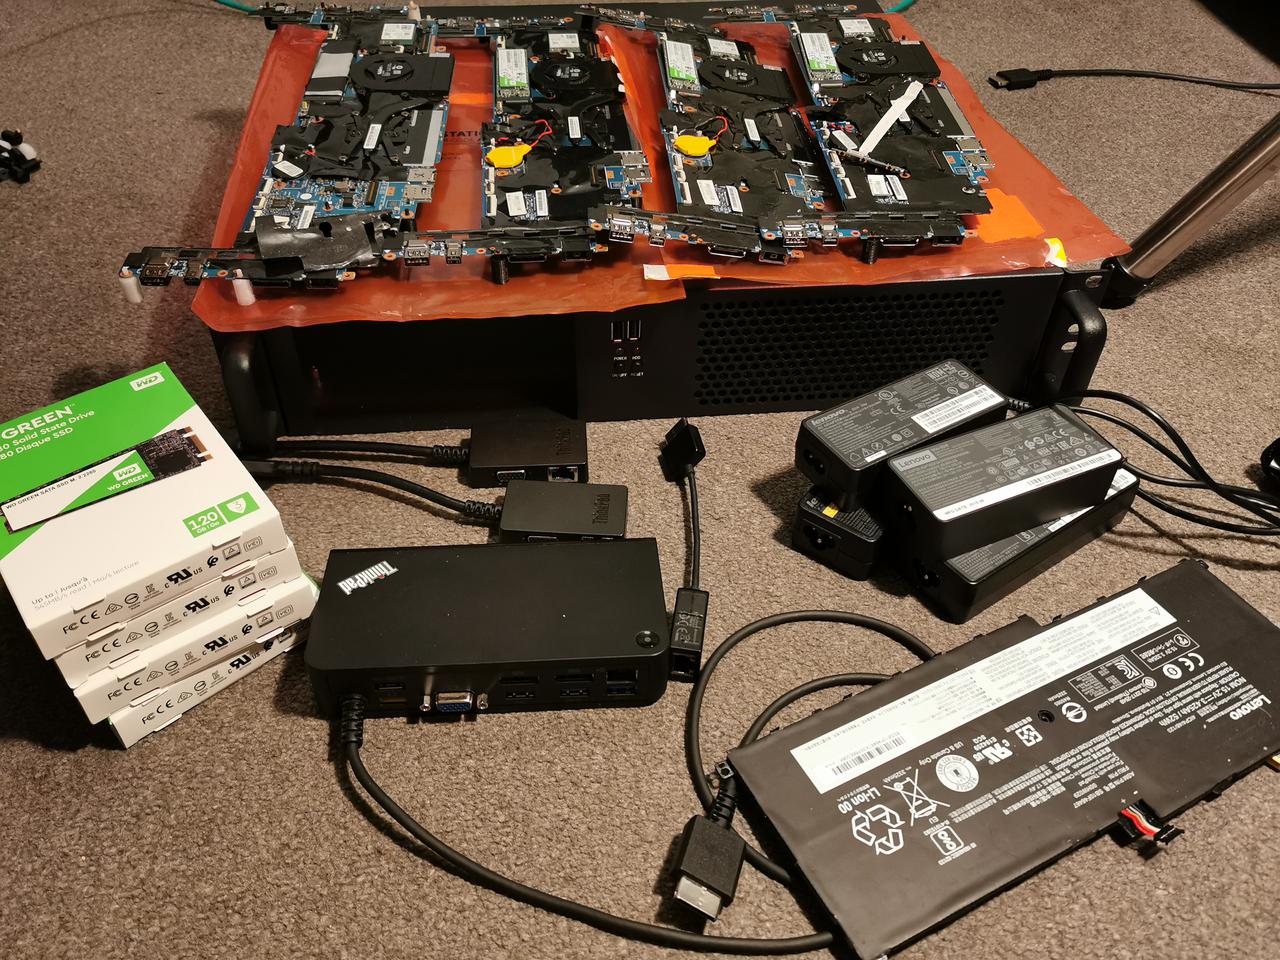
Connecting it all together inside the server case
Having all the parts printed and ready I've started assembling everything together which was the biggest fun.
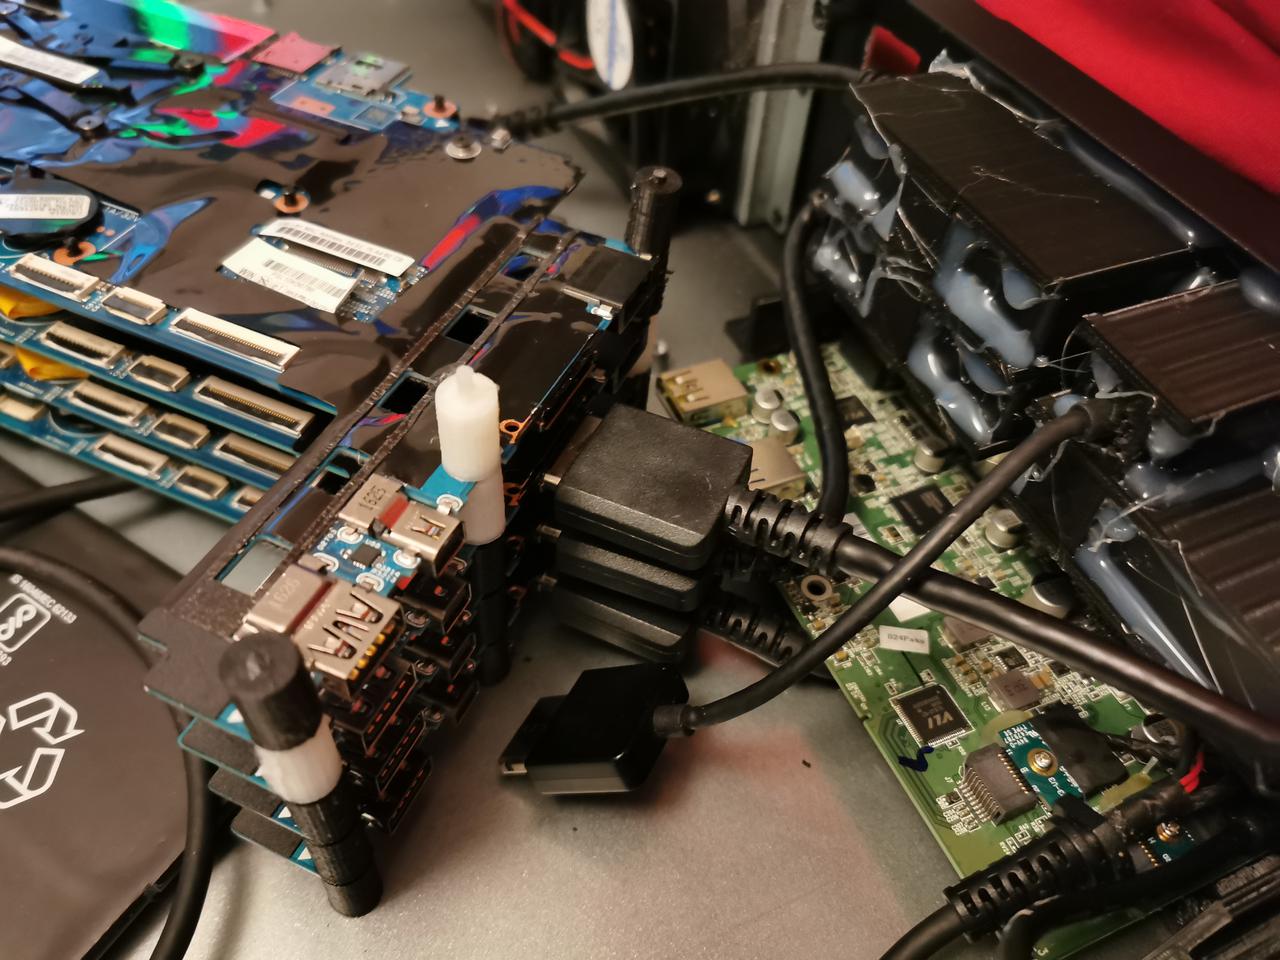
Battery for master node
As seen below in the bottom - the motherboard is supplied with laptop battery - it's the master node with etcd running so it has some extra power protection (I have 2 UPSes fot the whole cabinet though)
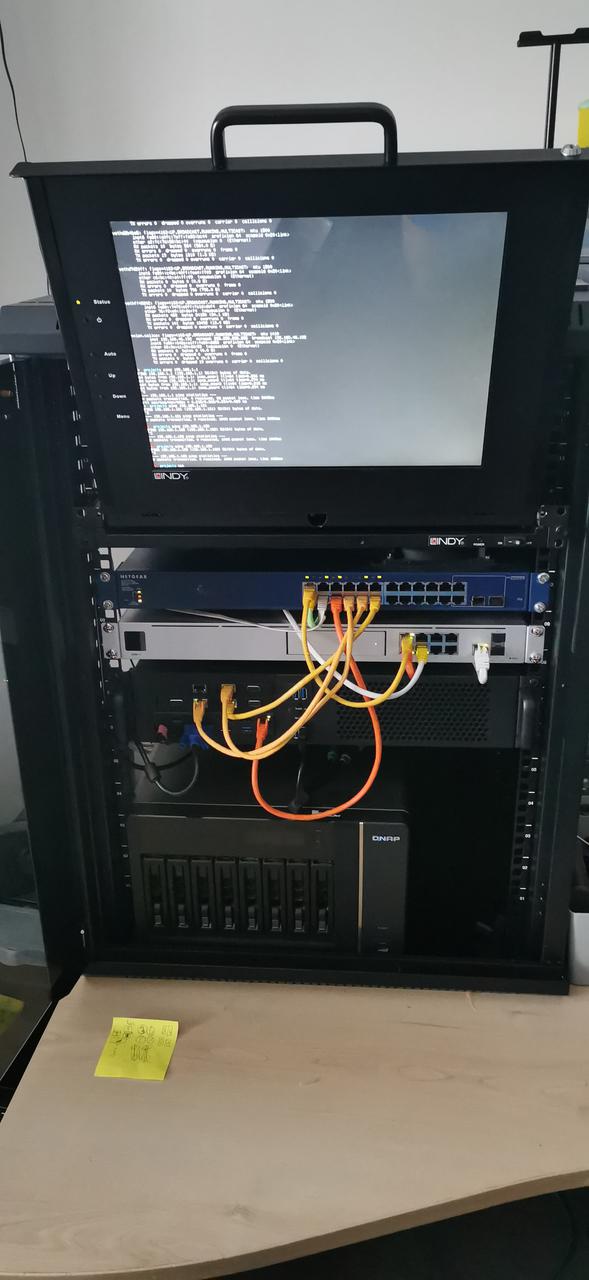
Final effects
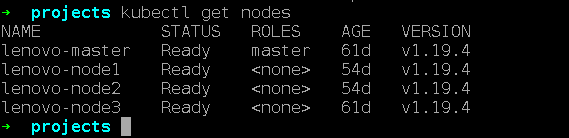
So in the end this little 2U box is i7 16GB x4NODES kubernetes cluster!!!
Clarification
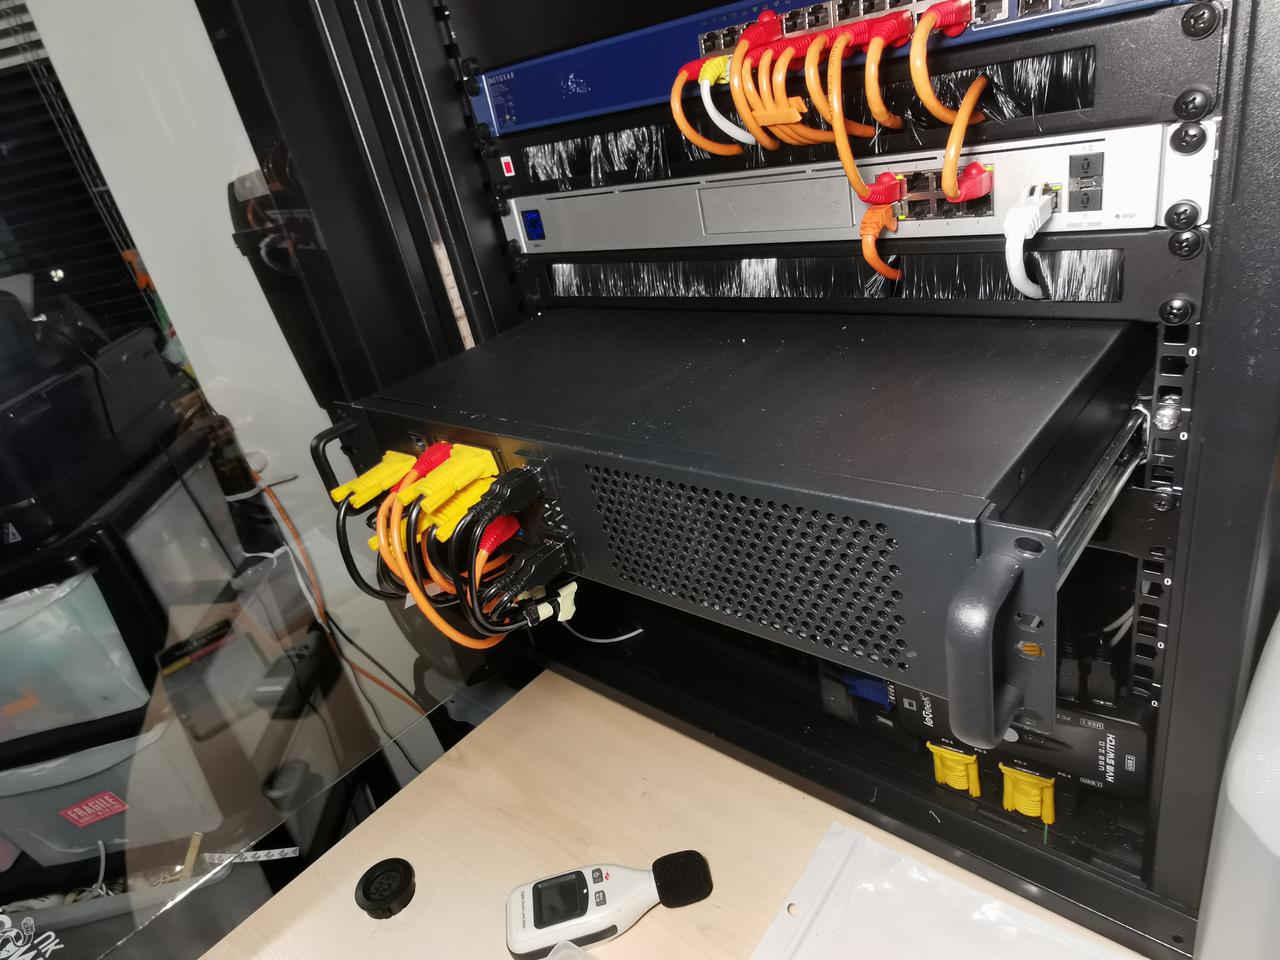
Of course I forgot to mention (intentionally or not to lower overall costs :) ) the extra 2U case didnt fit to my 9U Cabinet anymore as there is Dream Machine Pro and some PoE Switch and a NAS there already so I had to buy bigger server cabinet 15U
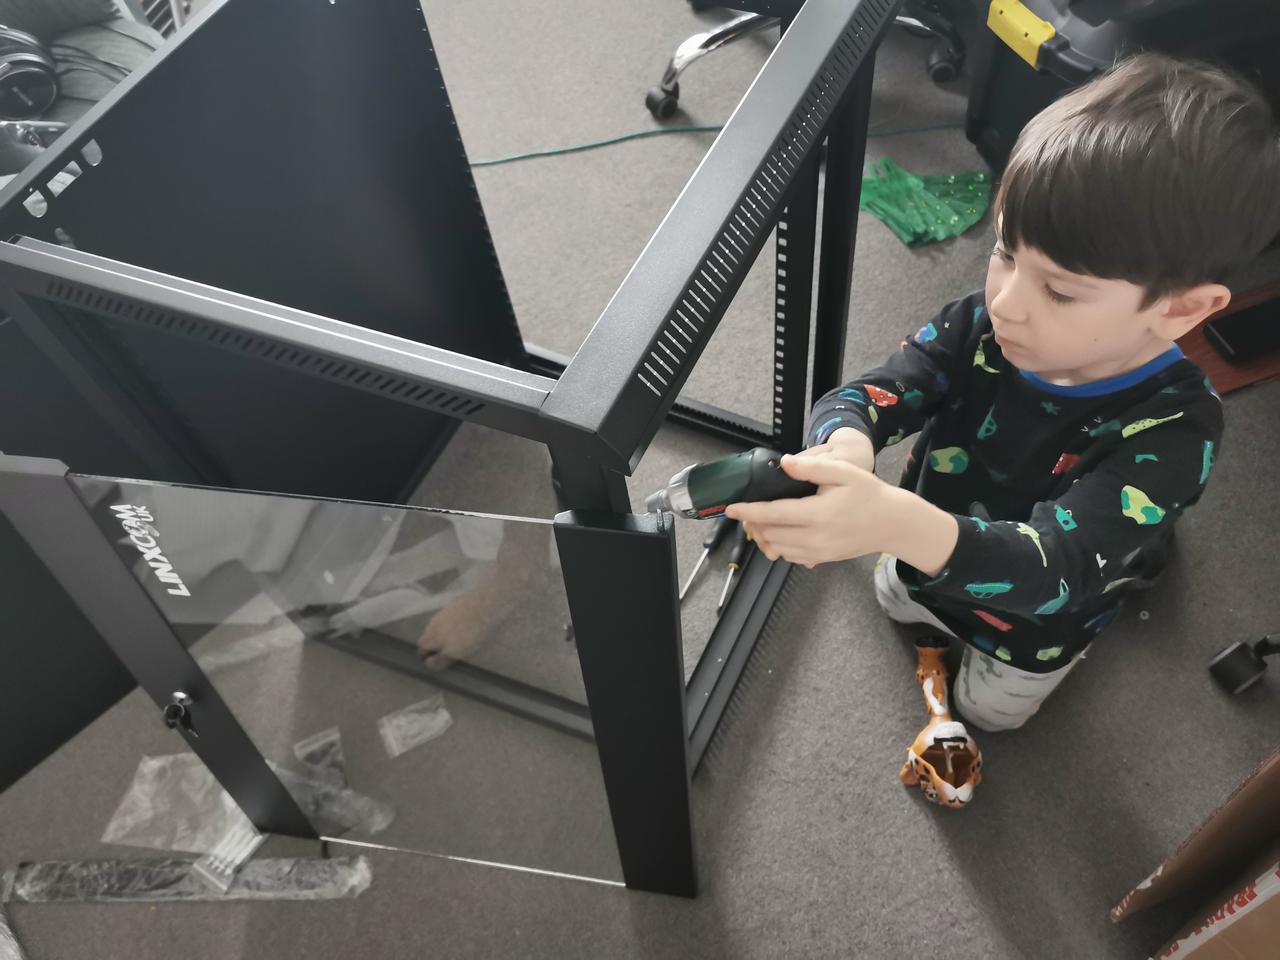
Because of that I had to hire some external contractor to assembe it so this costed me 2 extra hrs spent at playground + 2 kinder surprise eggs.
So inside case it looks like this
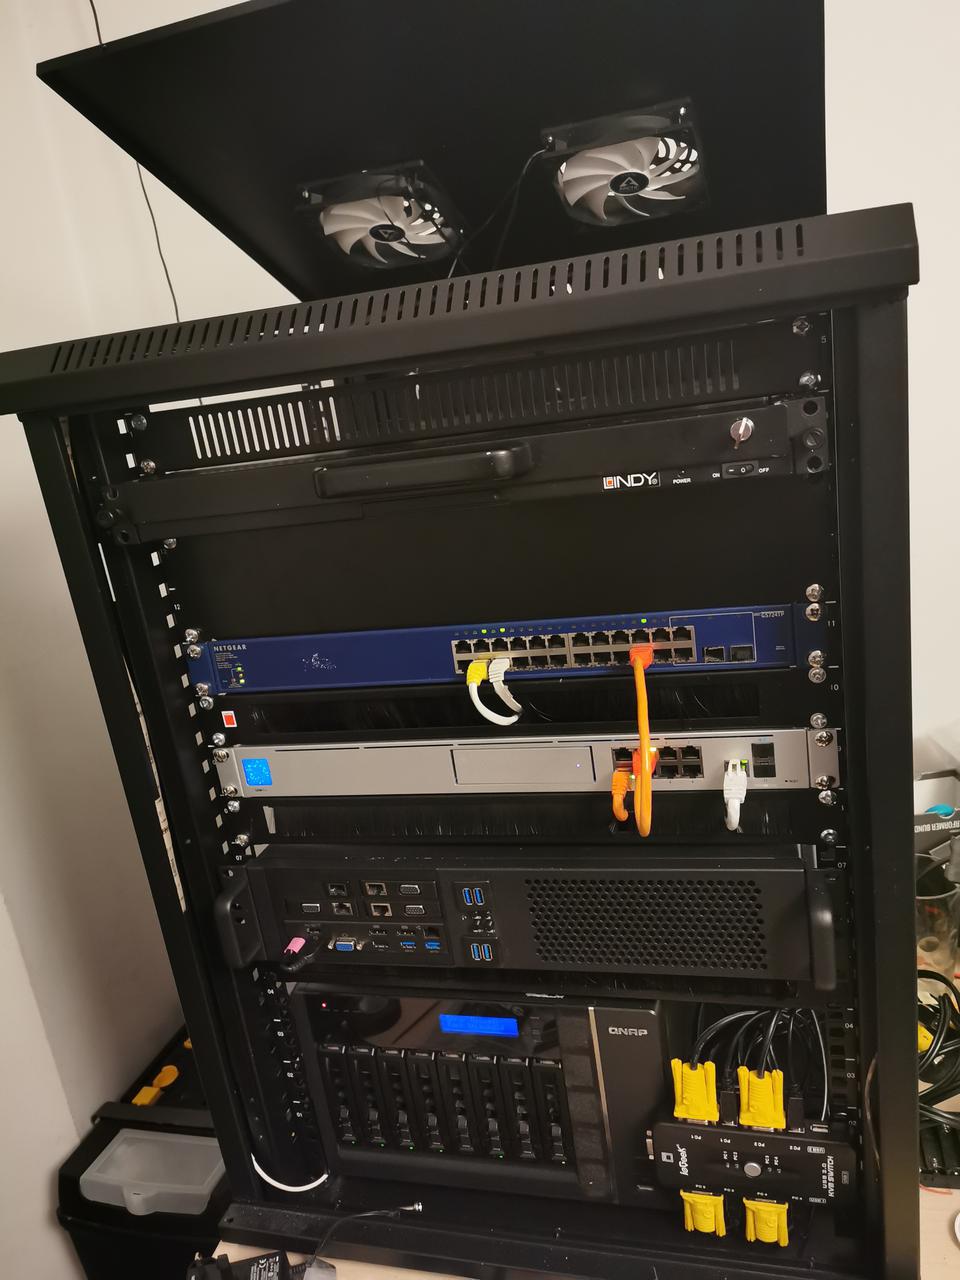
And everything connected together
Future plans
For now I have half-automatically installed k8s on my Nodes from playbooks taken from my prev project (kubernetes cluster on vagrant ) https://github.com/greg4fun/k8s_simulation_on_vagrant , but I have in plans to make it full IaC and use Hashis Terraform.
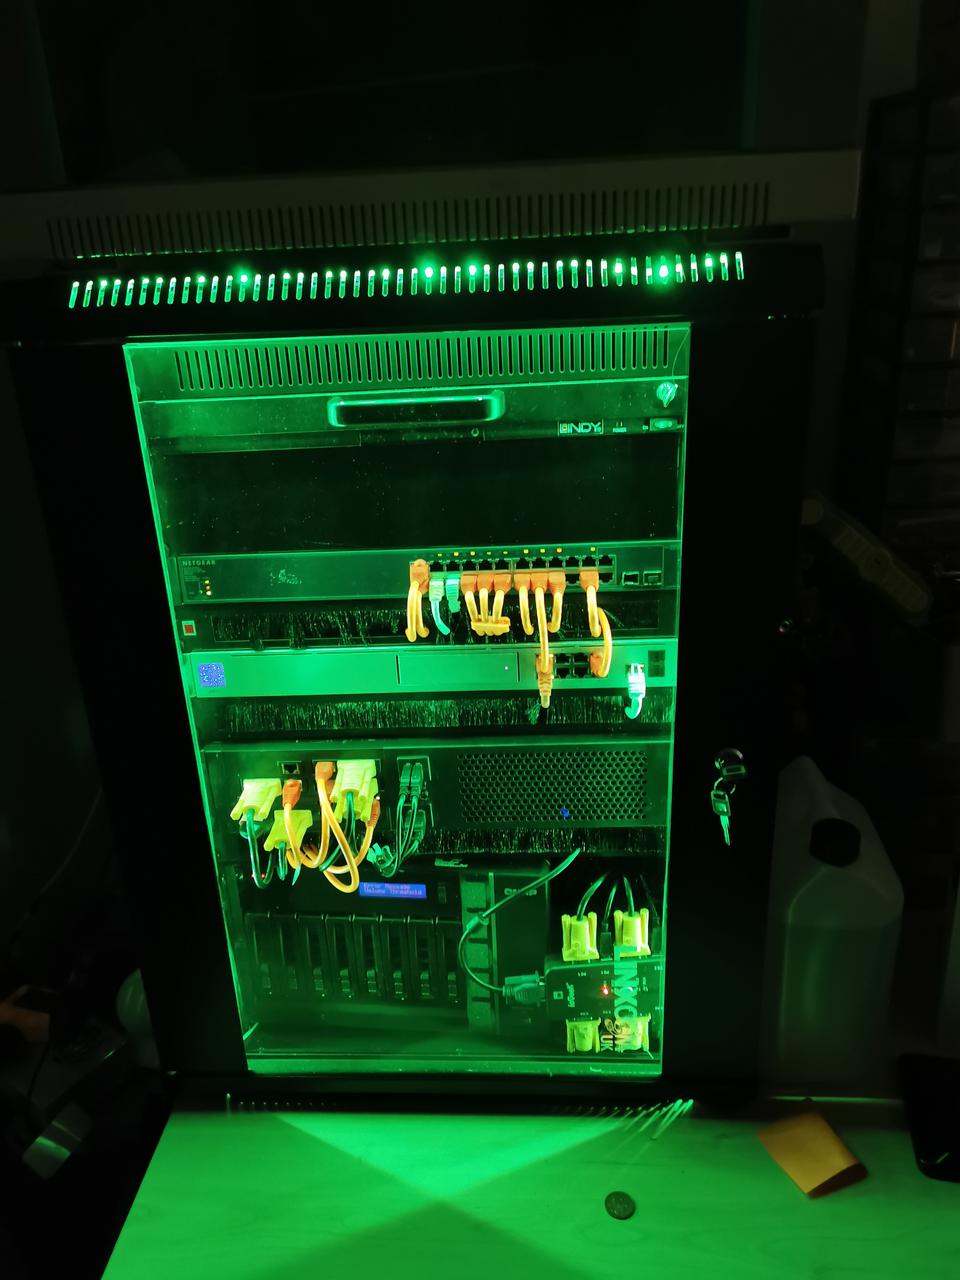
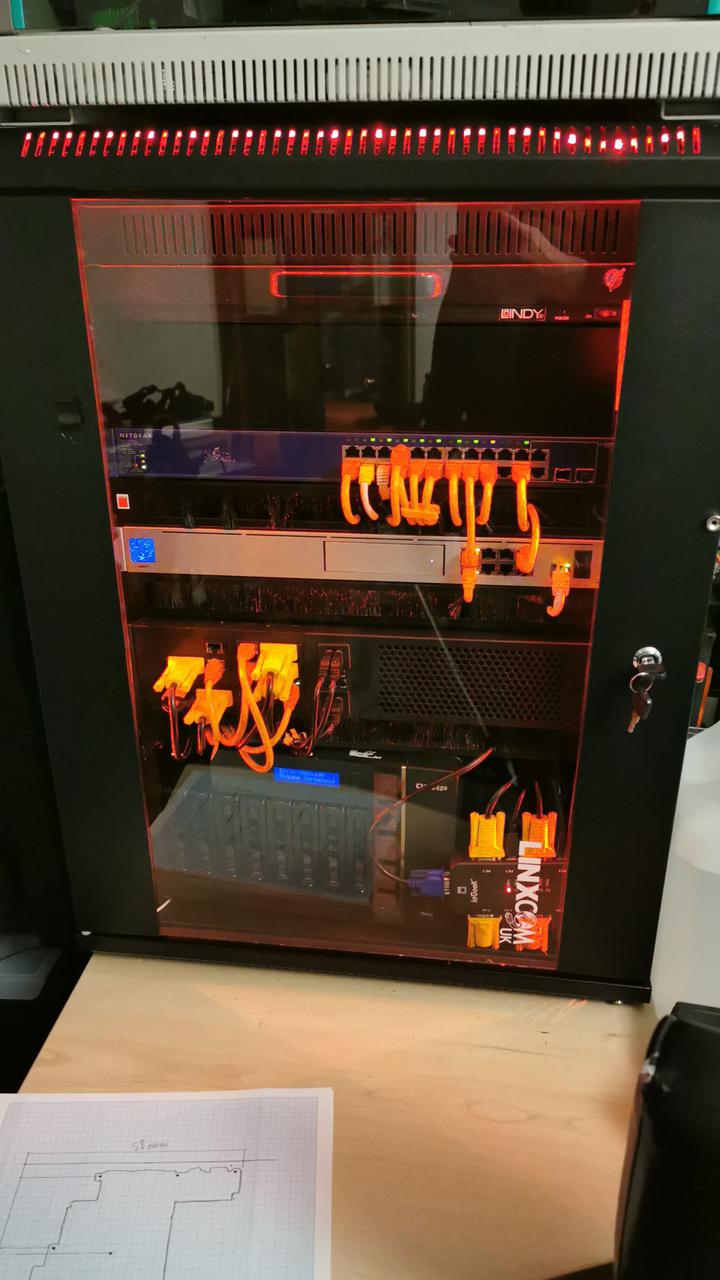
Master temperature with lights
As seen on photos below there are leds - this is Philips Hue strip I have allready played with python API and I'm going to connect those leds to the Master node temperature readings.
Comments
Comments powered by Disqus